Today’s post is a follow-up to my Use Kubernetes In WSL blog post, where I outlined how to install Kubernetes on WSL. As noted at the end of the post, I was having issues connecting from the host, a windows machine, to Kubernetes in WSL.
Connection Issue
The main issue I was facing was that I could not connect to a pod running on Kubernetes using window’s localhost. Take the following Nginx deployment obtained from the official Kubernetes documentation.
| |
I can use the YAML content above to create a deployment by executing the following kubectl command.
| |
I can confirm the deployment was successful by verifying that all 3 pods are up and running using the following kubectl command.
| |
Once the pods are ready to receive traffic we can expose our deployment using the following kubectl command.
| |
- target-port is where the container is listening for requests coming from outside the node.
- port is where the container is listening inside the cluster, in this case, port 80.
Once the service has been created you can use the following kubectl command to see the cluster port, the service port assigned to the Nginx deployment service, and the randomly generated port for local connections.
| |
Here is my output of the command above.
| |
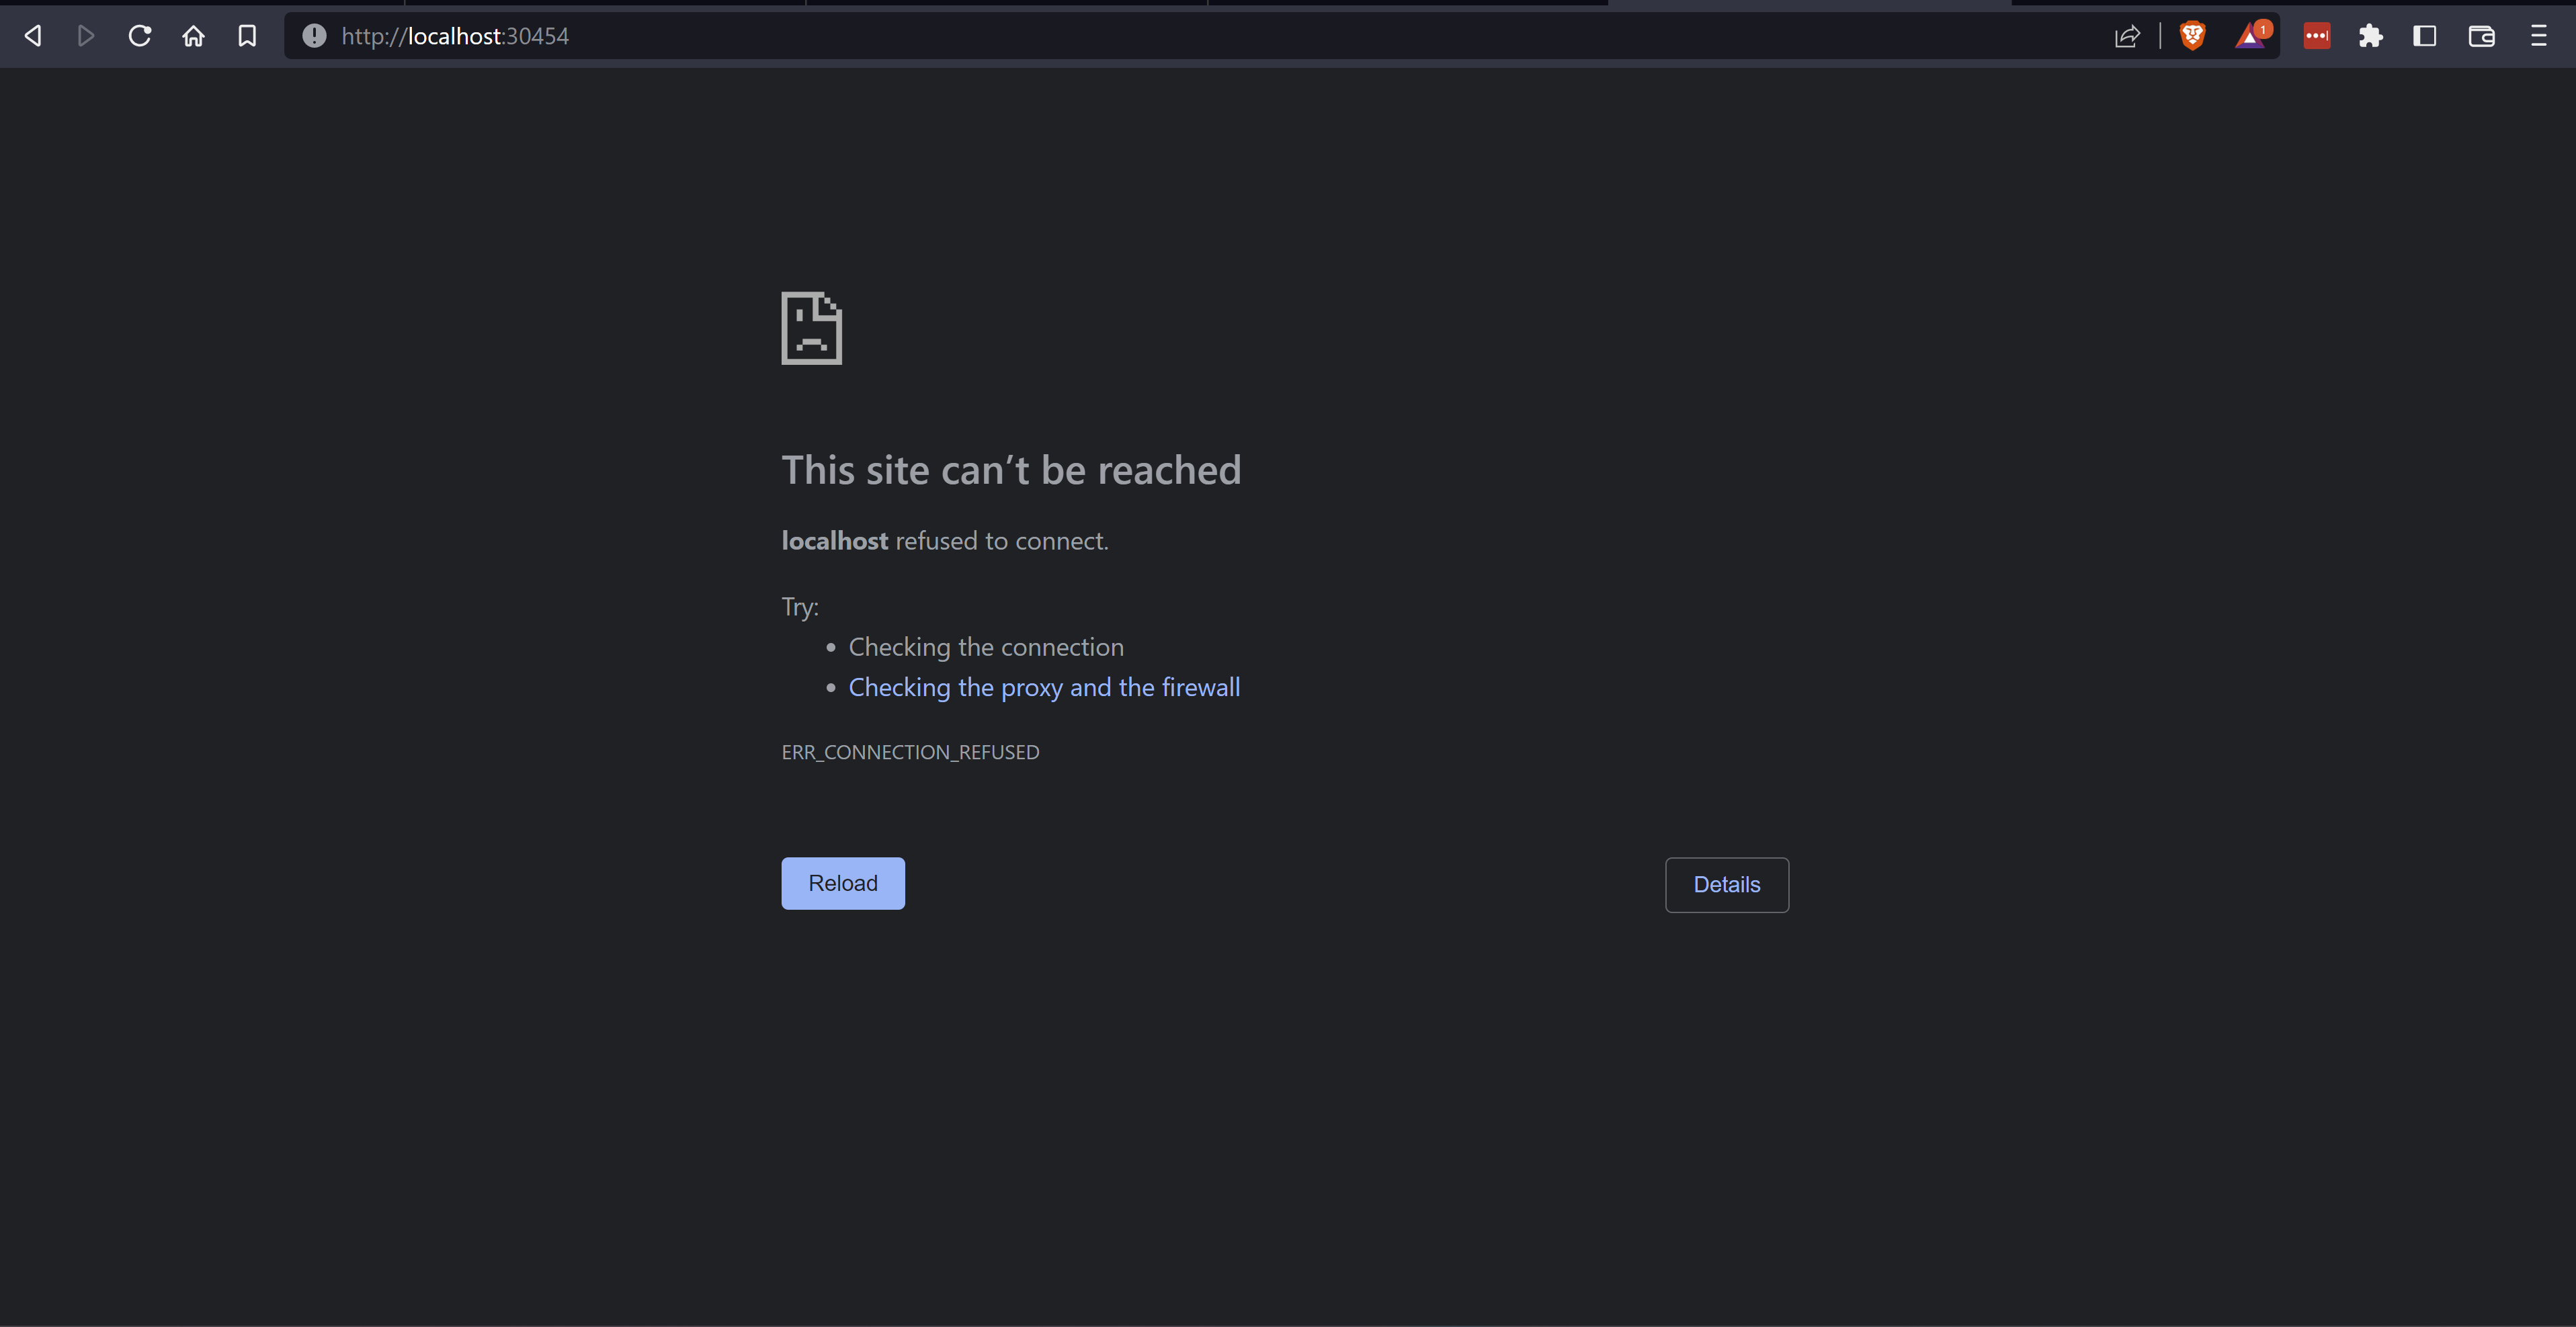
This is where I incorrectly assumed that I could reach the Nginx service running on Kubernetes from Windows’ host using localhost. I made this assumption because WSL’s localhost now by default binds to Windows’ localhost. I assumed that by exposing the deployment, the randomly generated port, 30454, which is used to connect to the service through localhost on WSL would bind to port 30454 on the Window’s host and allow me to access the Nginx service.
These assumptions were wrong. The following screenshots confirm it.
I really needed to figure out a way to connect to the Nginx app running in k8s on WSL while using localhost from windows. I ended up chasing four possible solutions that I now want to share with you.
Using the Node IP
The first approach I took to connect to Nginx from Windows was to use the node IP. If you followed the commands under Connection Issue and have all three Nginx pods up and running then replace localhost with the node IP on your browser in Windows.
In my case, the node IP is 172.23.207.235, I obtain that value by running the following command.
| |
Here is the output of the command above.
| |
To connect to NGINX I opened up my browser to 172.23.207.235:30454.
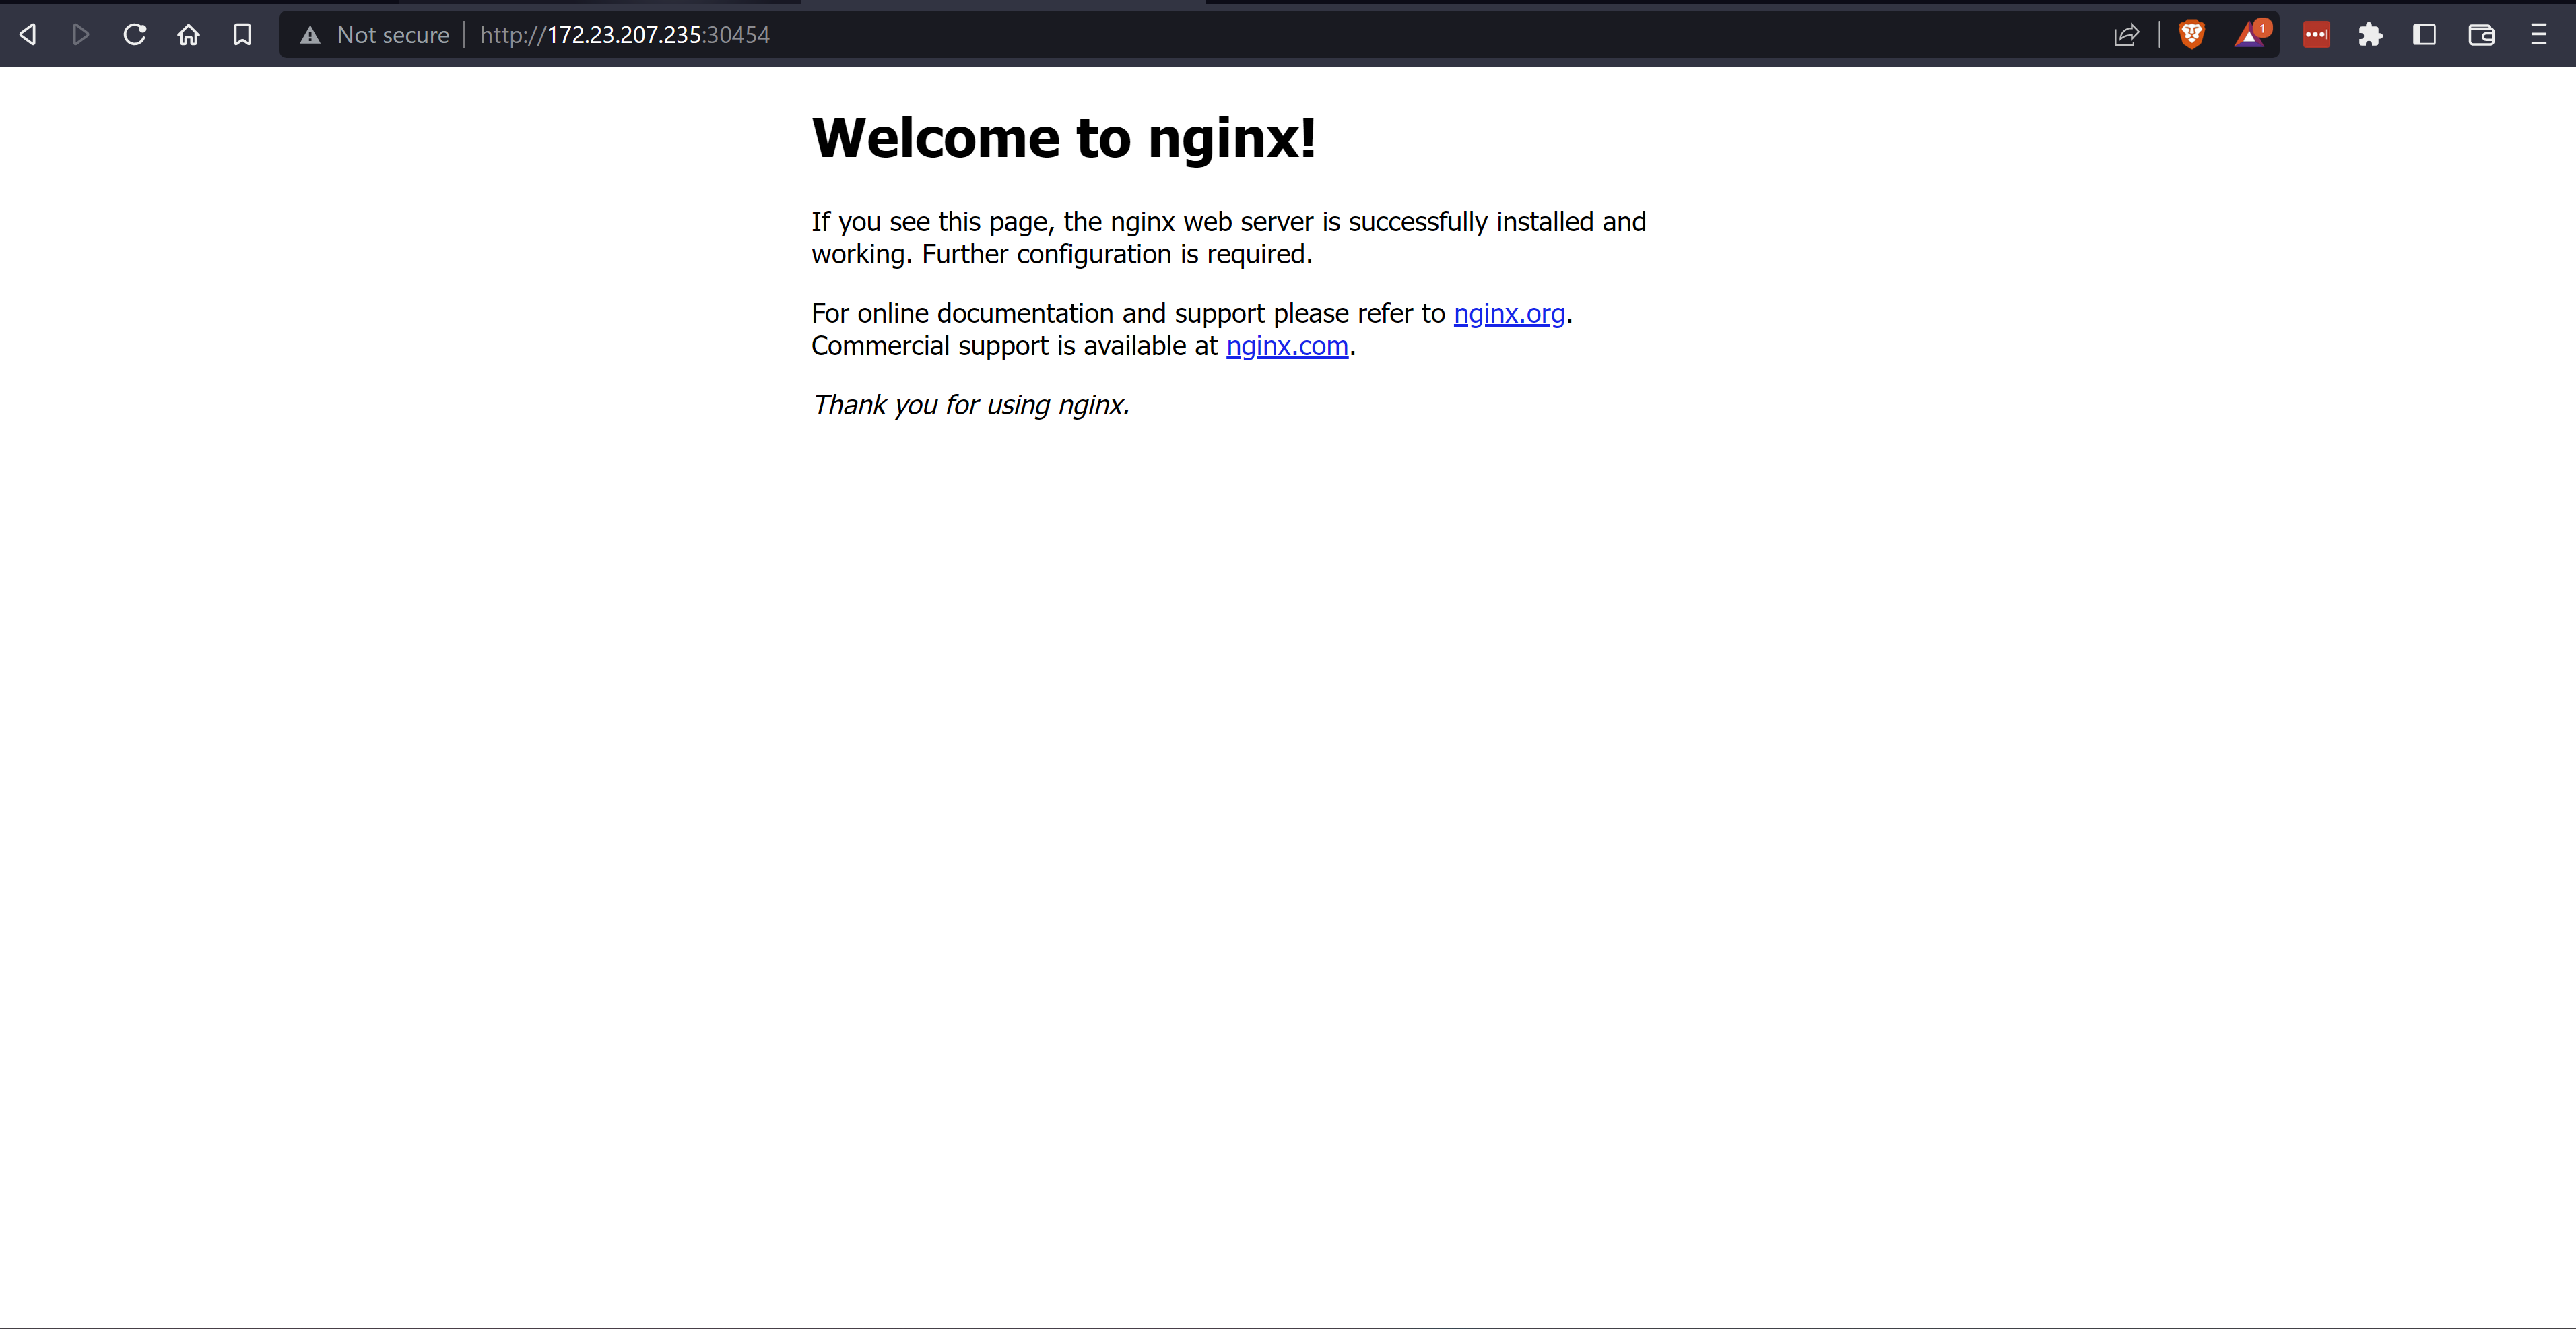
Bingo, I can reach the service from Windows. I wanted to connect to the service using localhost, so I thought, why not map 172.23.207.235 to Window’s localhost, as it turns out, that is big fat NO. I learned that you should never attempt it, leave localhost alone. Instead map it to something similar, perhaps local.host or www.localhost.com
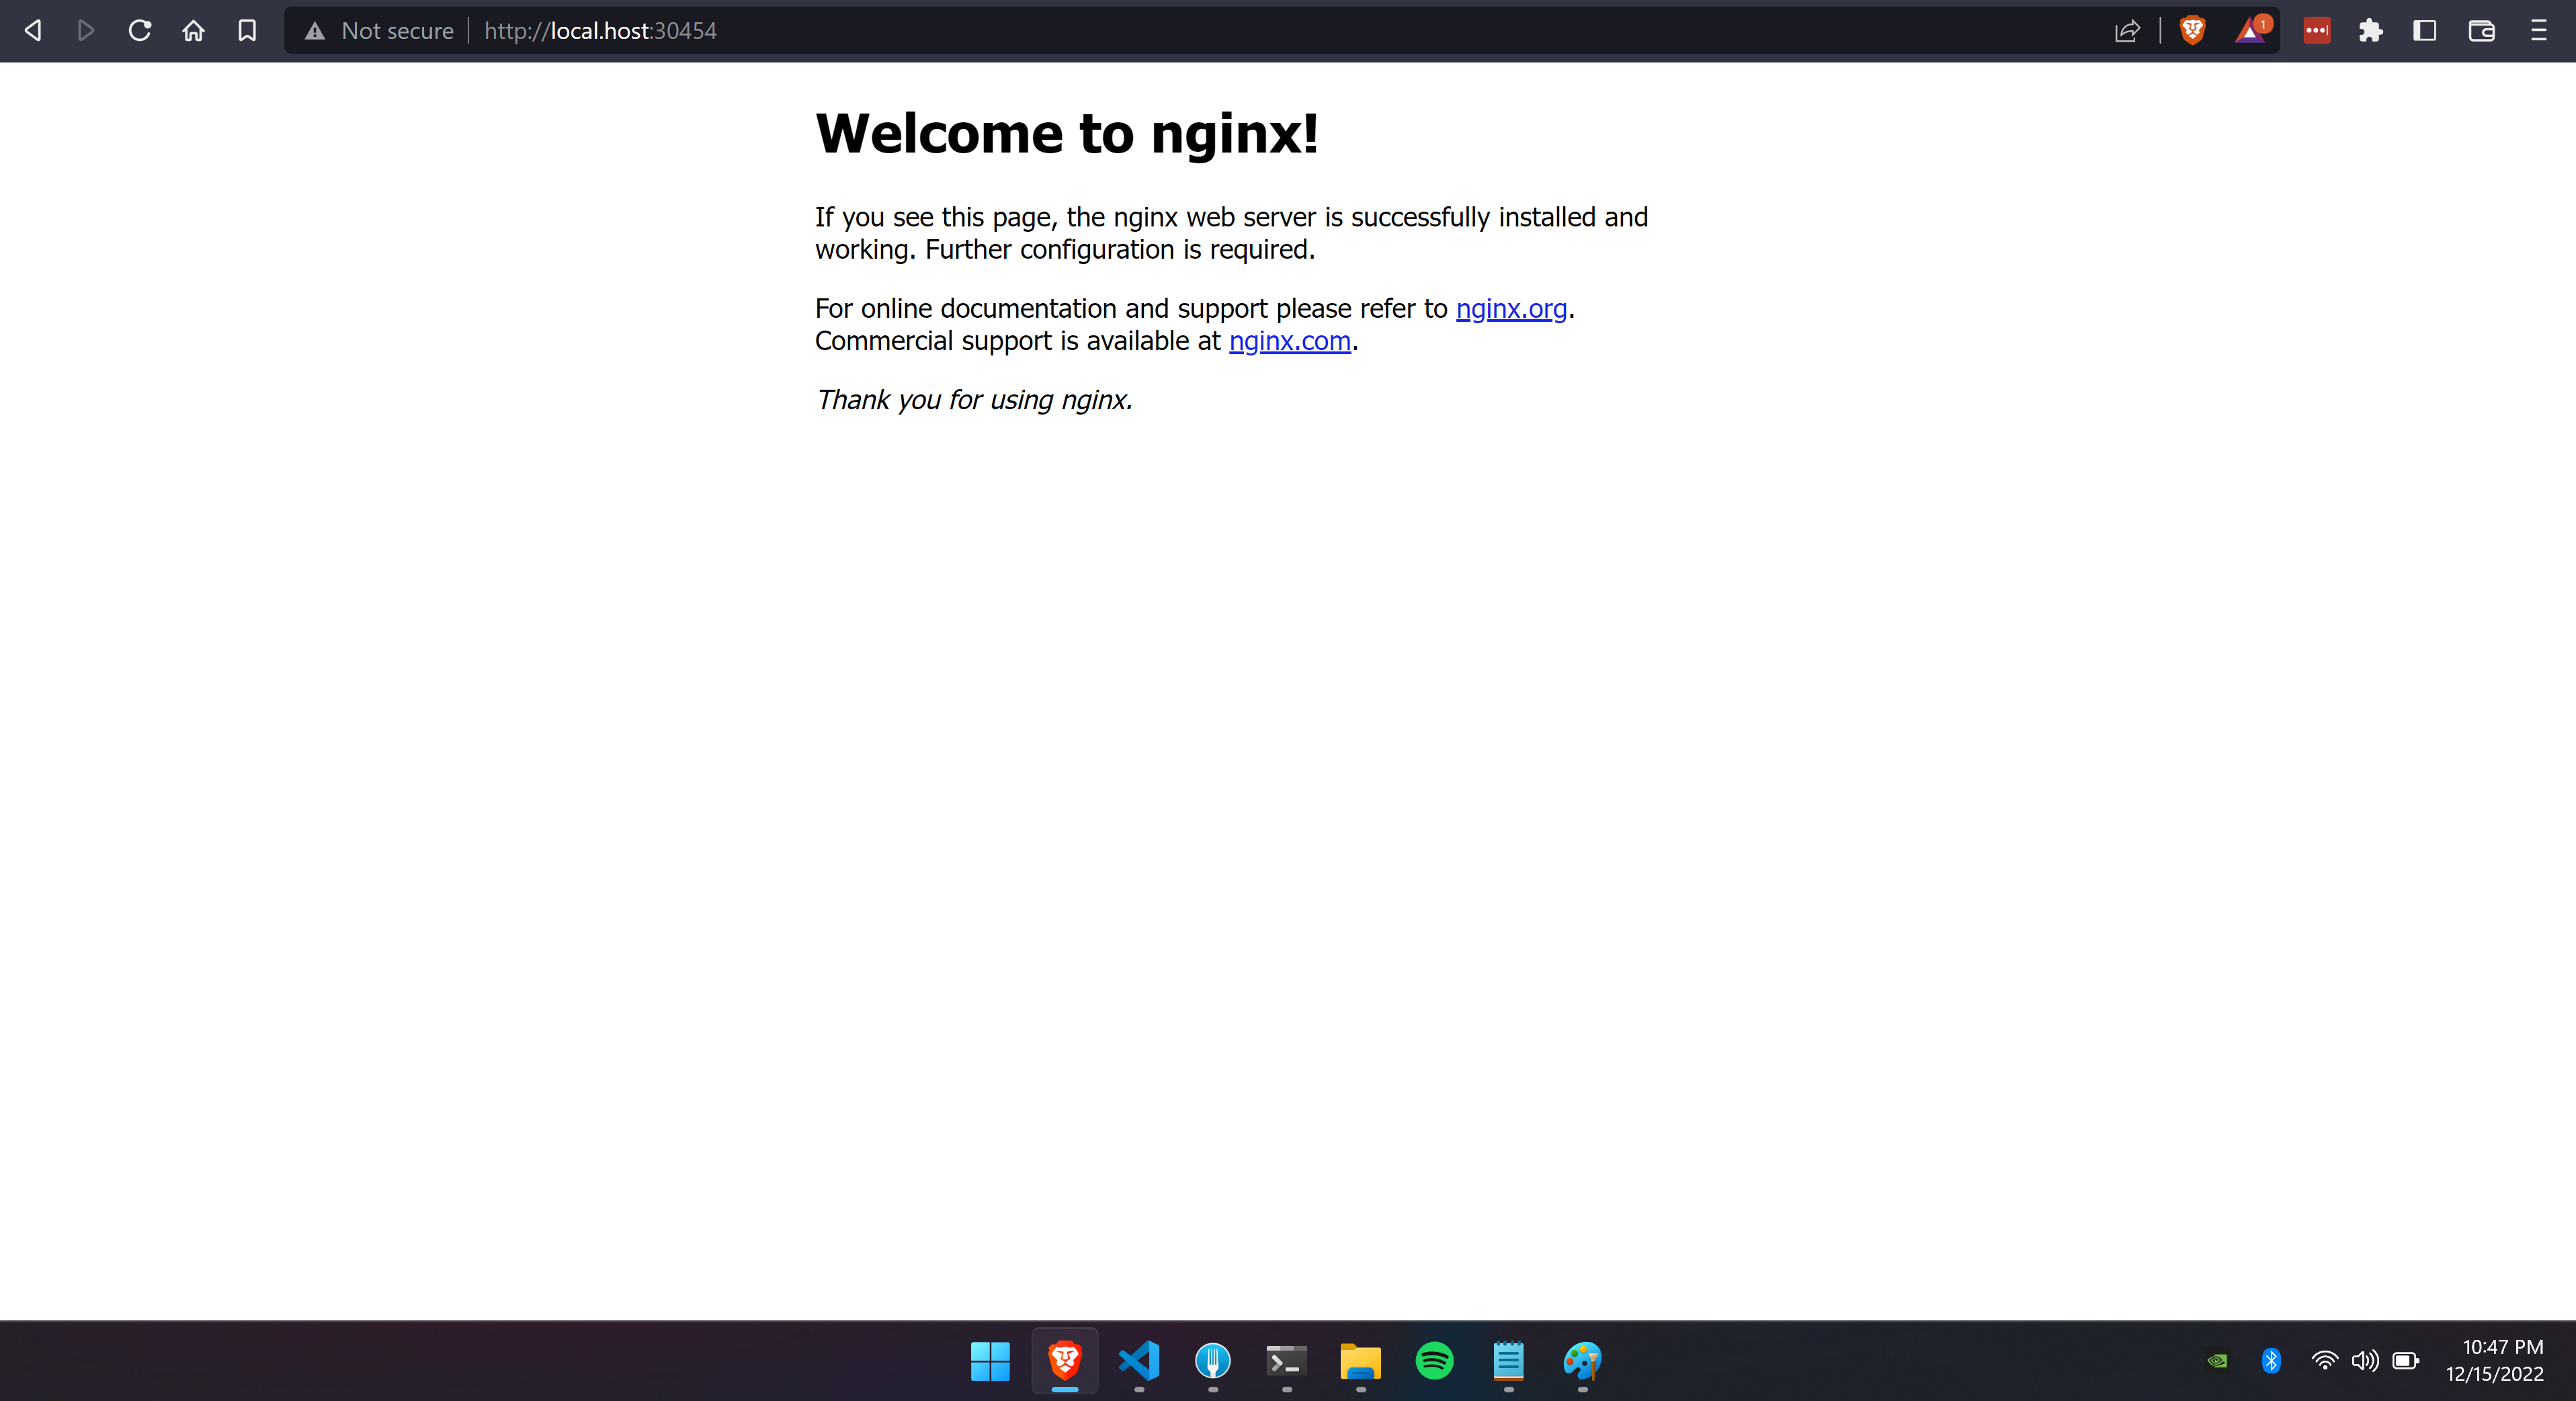
If you still cannot reach the service after having modified the host’s file, flush your DNS in Windows using the following command.
| |
I Then realize that using the node IP to approach had two flaws.
- The port is randomly generated when the service is created. I needed the port to predetermined.
- The Node IP can change if you restart or shut down WSL. As of December 2022, there is no easy way to set the IP of WSL to be static.
These two flaws made this approach not a viable solution so I moved on to the next approach, port forwarding.
Using Port-Forward
This approach involves using port forwarding
After following the commands under Connection Issue and having verified that all 3 pods are up and running, use the following kubectl command to port forward from the WSL’s localhost to Windows’ localhost. Remember, they are now one and the same.
To start port forwarding traffic to the Nginx pods run the following command.
| |
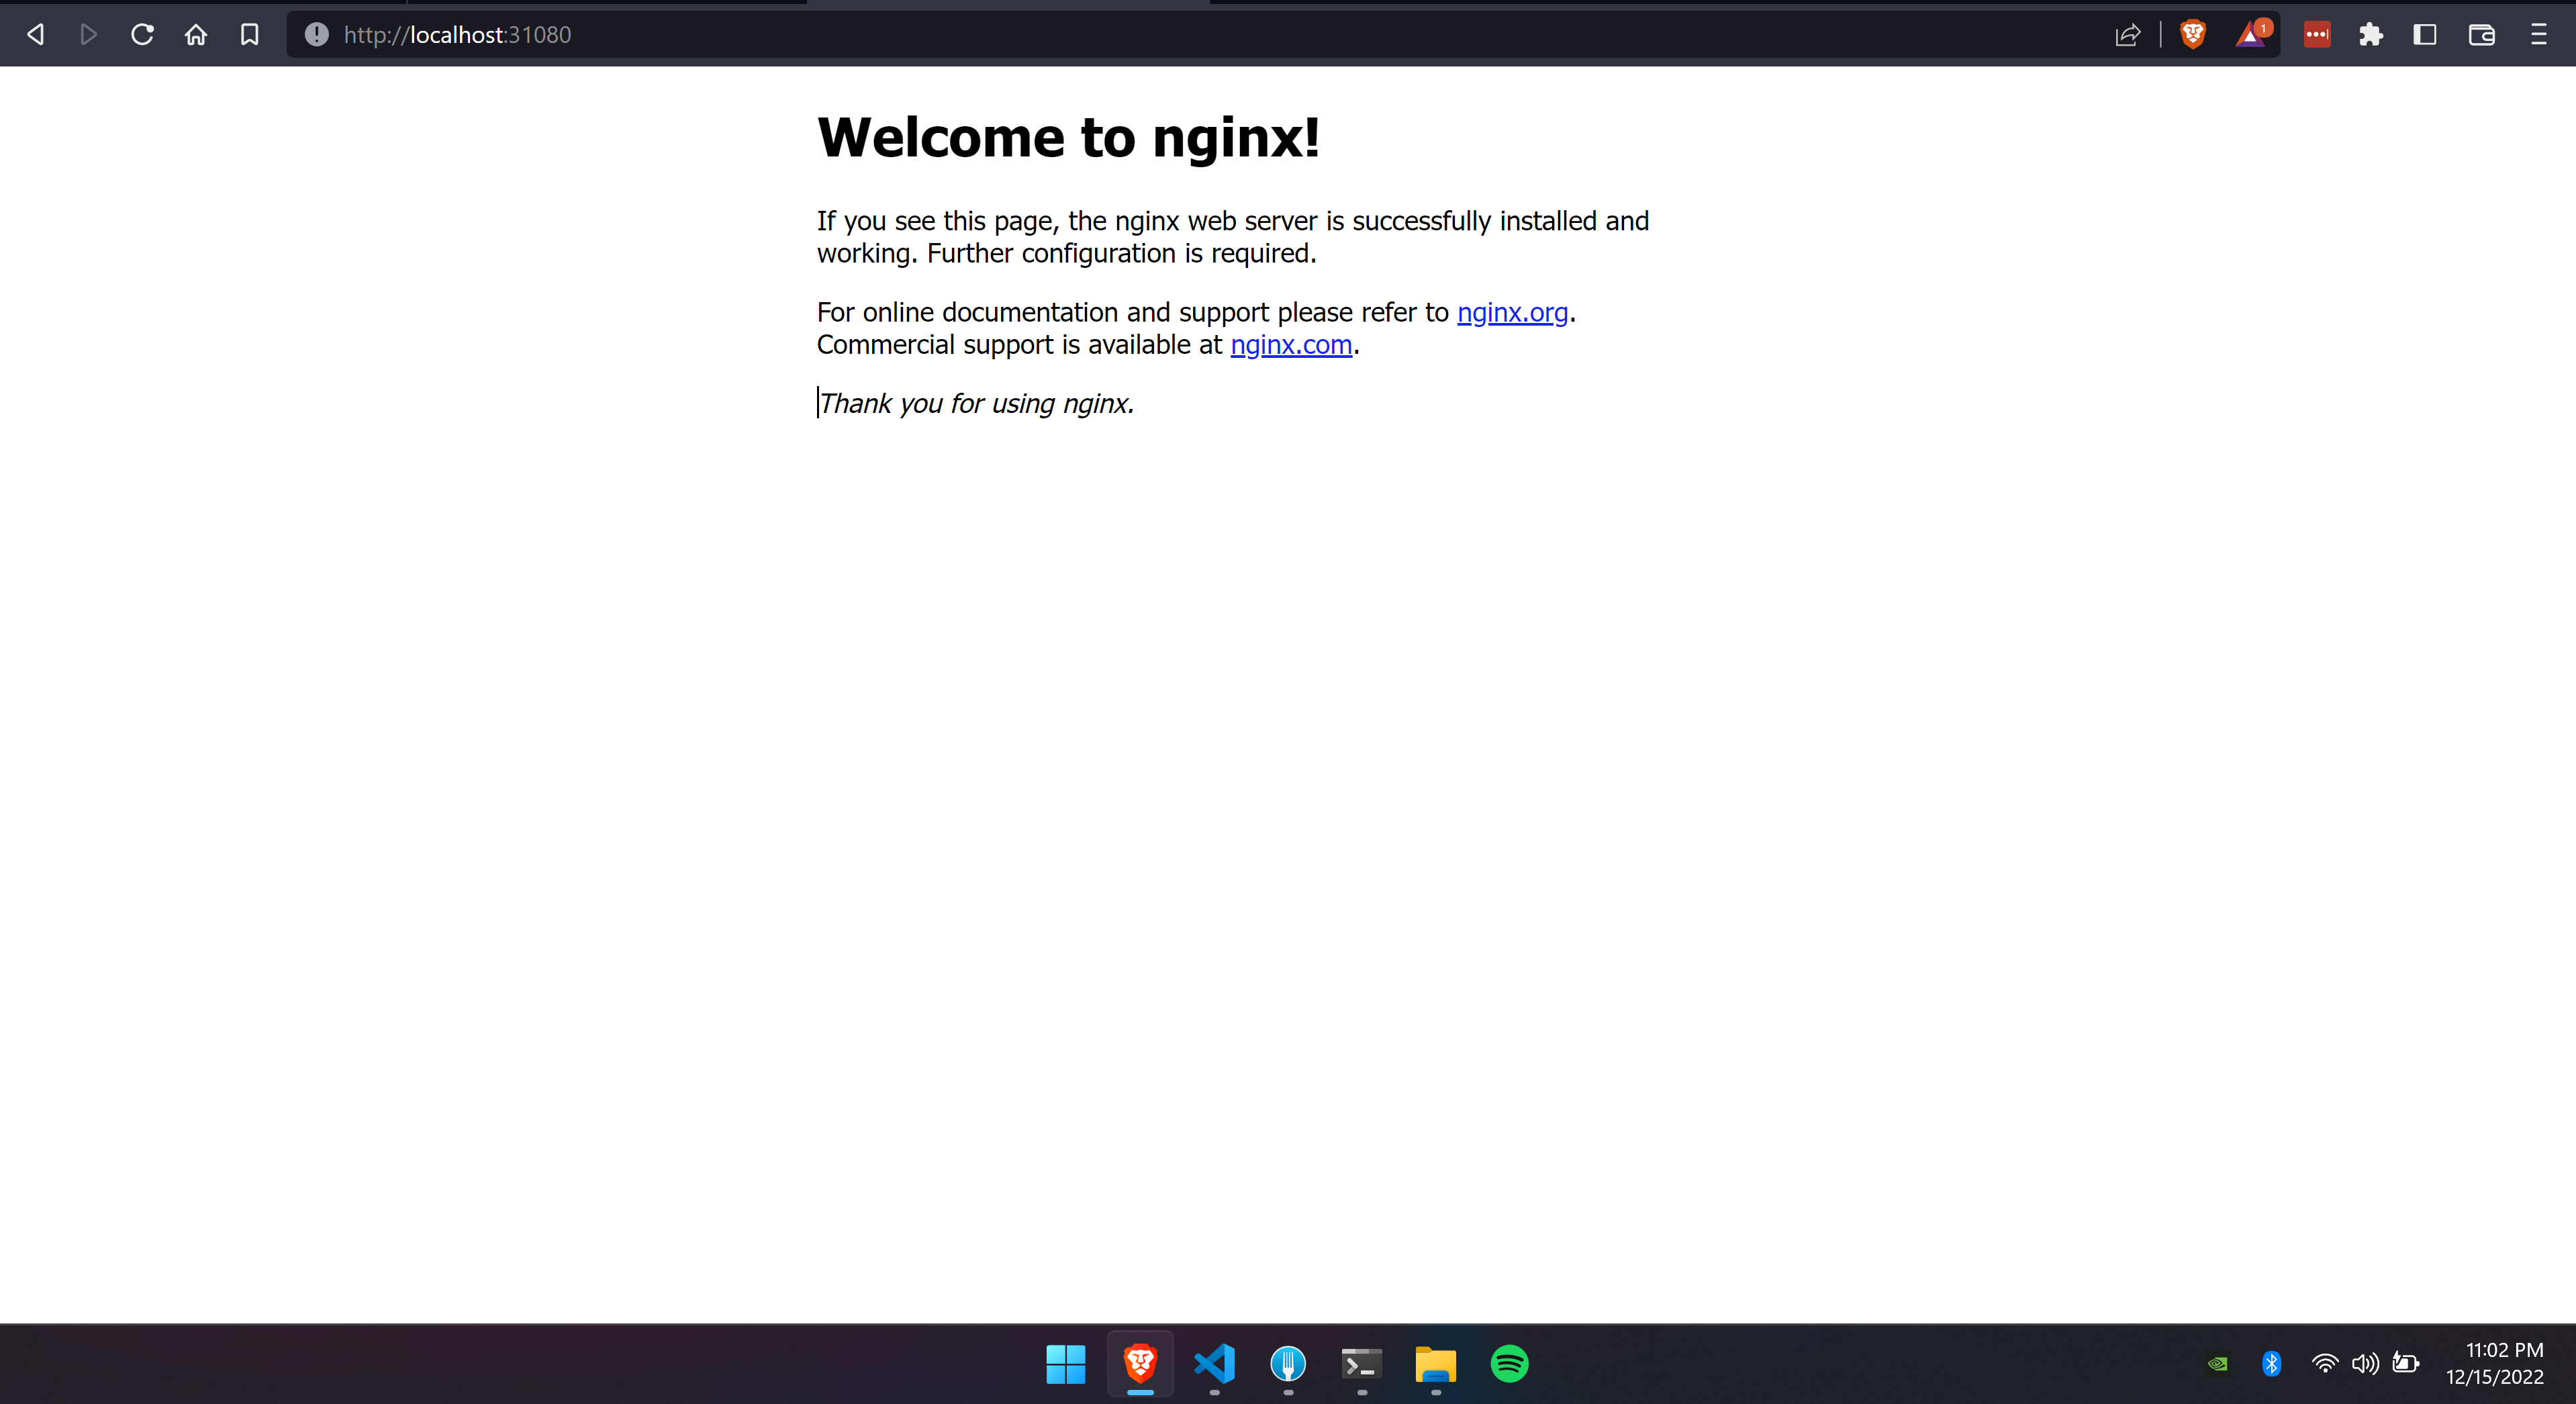
Kubernetes will forward traffic from 31080 to port 80 on the container, and since WSL’s localhost:31080 is now the same as Windows port 31080, I can open up the browser to localhost:31080 to connect to the service.
Another approach would be to forward traffic from the pod instead of the service using the following command, the result is the same.
| |
- nginx-deployment-7fb96c846b-4c4r4 is the name of one of the three pods running.
This is great, I love being able to connect using localhost, however, this solution is temporary, as soon as you stop port-forwarding traffic, the connection will stop work working on Windows.
On to the next approach, using MetalLB.
Using MetalLB
This approach involves using a microk8s addon, MetalLB, to allow load balancing. After going through it I realized that this approach is exactly as Using Node Ip. If you didn’t like that solution then you can skip this part or not, you can learn how to use MetalLB. Fun!
MetalLB is a load-balancer implementation for bare metal Kubernetes clusters, using standard routing protocols. It can be enabled in microk8s using the following command.
| |
Note that when you execute the command, MetalLb is going to expect you to provide an IP. You can specify it as a range like 10.64.140.43-10.64.140.49,192.168.0.105-192.168.0.111 or using CDIR notation. I prefer CDIR notation.
First, I need an IP address. If I run the following command I will get the IP of the node.
| |
Gives me the following output.
| |
For my load balancer IP, I’m going to change the last octet from 34 to 49, so the IP for MetalLb is going to be 172.23.200.49.
| |
Note that I’m using /32, this keeps the load balancer IP static. If you don’t understand why /32 makes the IP static then may I recommend watching Understanding CIDR Ranges and dividing networks
Delete the Nginx service if you created one.
| |
Now expose the deployment again but this time the type will be LoadBalancer, not NodePort
| |
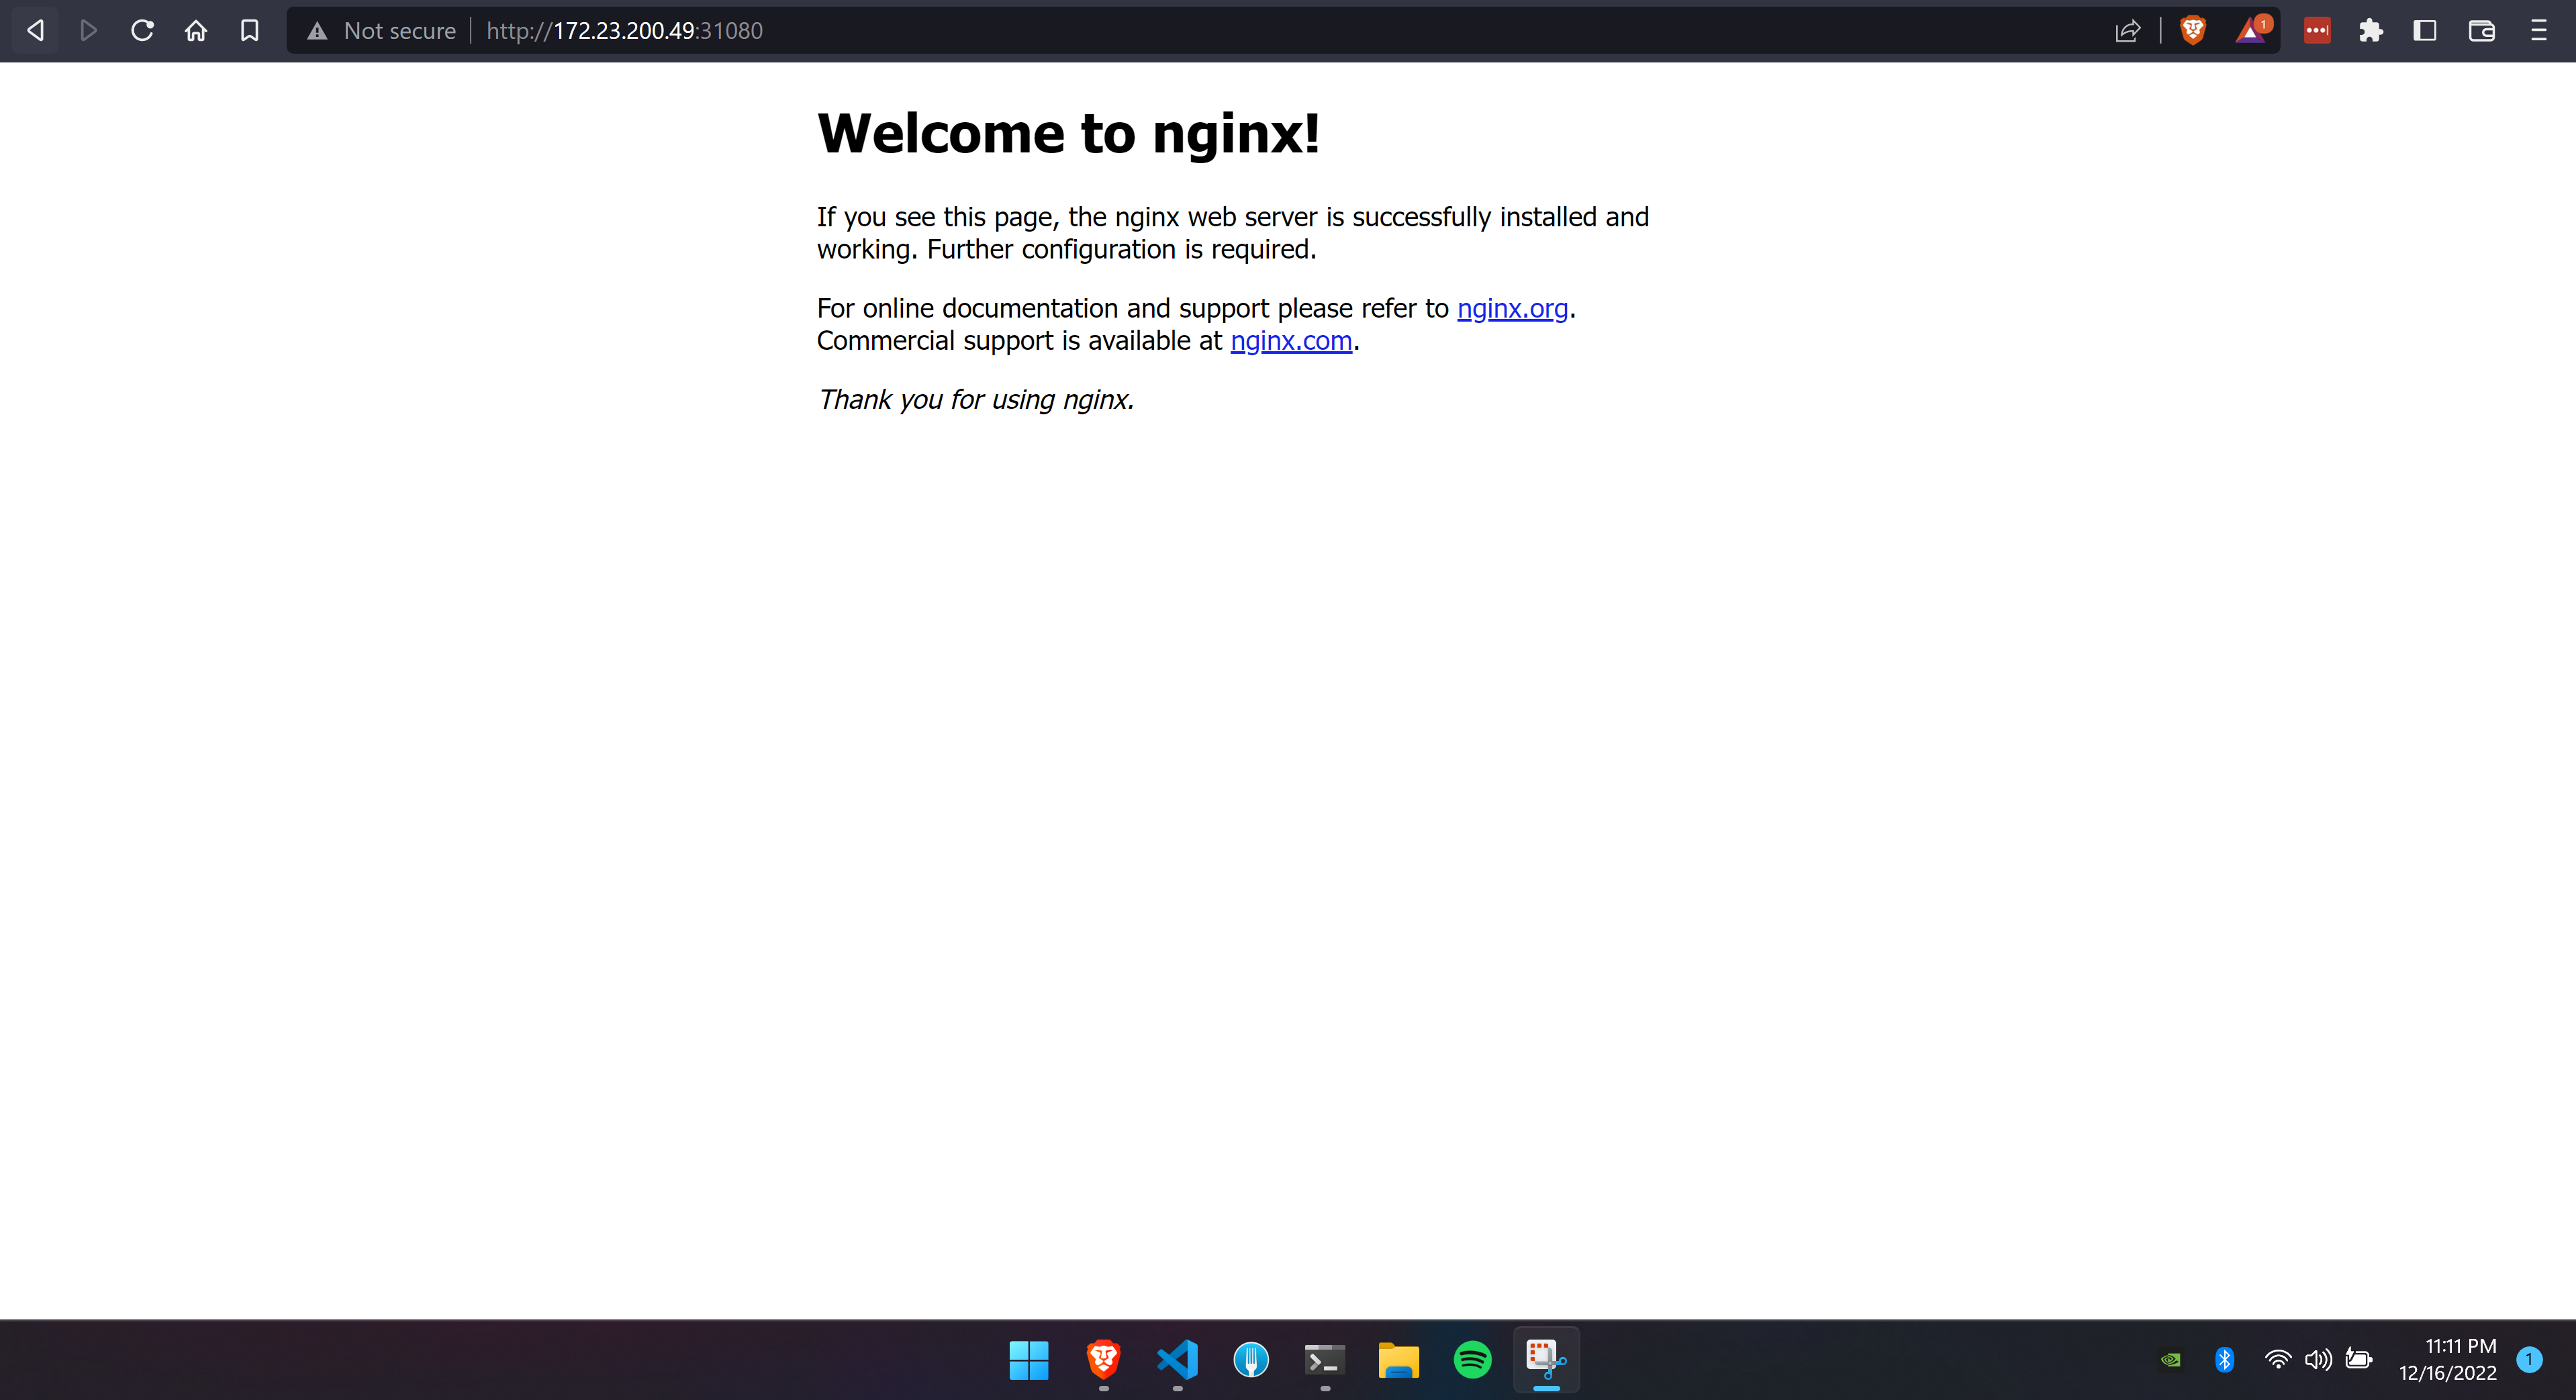
Back on Windows, I’ll open a web browser and navigate to http://172.23.200.49:31080/ to confirm I can reach the Nginx service.
As expected, I can reach it.
Just like the Using the Node IP approach, if don’t enjoy using an IP address to access the service, modify the windows hosts file and map the IP of the load balancer to a custom domain.
You could also port proxy the traffic from Windows to WSL using netsh interface portproxy.
For example,
| |
Remember, if you restart WSL, a new IP will be assigned to the node, which means your load balance IP will no longer router traffic, you will need to reenable MetalLB using the new node IP to get traffic flowing into the Kubernetes service and also remap the netsh interace.
Using HostPort
What ultimately ended up being my preferred solution. HostPort keeps everything simple, no hosts files, no IPs, and no fuss. I consider this approach to be the same as port forwarding but unlike Port Forwarding, this approach is a more permanent solution, well so long as WSL is not restarted or shut down.
HostPort applies to the Kubernetes containers. The port is exposed to the WSL network host. This is often an approach not recommended because the Host IP can change. In WSL that happens when WSL is restarted or shut down.
To see it in action start from a clean slate, and delete all nginx-deployments & nginx-services running, now we are going to deploy Nginx again but this time we are going to modify the deployment by adding an additional configuration, hostPort as seen in the YAML below which is the content of my deploy.yaml file.
The number of replicas was reduced from 3 to 1, because as mentioned above, the host port applies to a container running in a pod, and you cannot map one port to multiple containers. You could leave the number of containers as 3 but note that when the pods are created, Kubernetes will only set one of the three as ready, that one pod that is ready will be the only one that can serve traffic.
| |
As you can tell from the YAML, I decide to use port 5700. I can now apply this deployment using the following command.
| |
You can use describe to see that the deployment is now bound to port 5700 in WSL.
| |
| |
Great, need one additional configuration. This time on the host, open up Powershell as an administrator and execute the following command.
| |
Where listenport is a port in our window’s host, listenaddress is the host’s localhost, connectport is the host port defined in our deploy.yaml file, and connectaddress is the node IP address obtained using the following command. This command forwards traffice from http://localhost:5700 to http://172.23.207.235:5700
| |
After the netsh interface portproxy command is executed I was ready to connect. I opened a browser to localhost:5700 on the Windows machine.
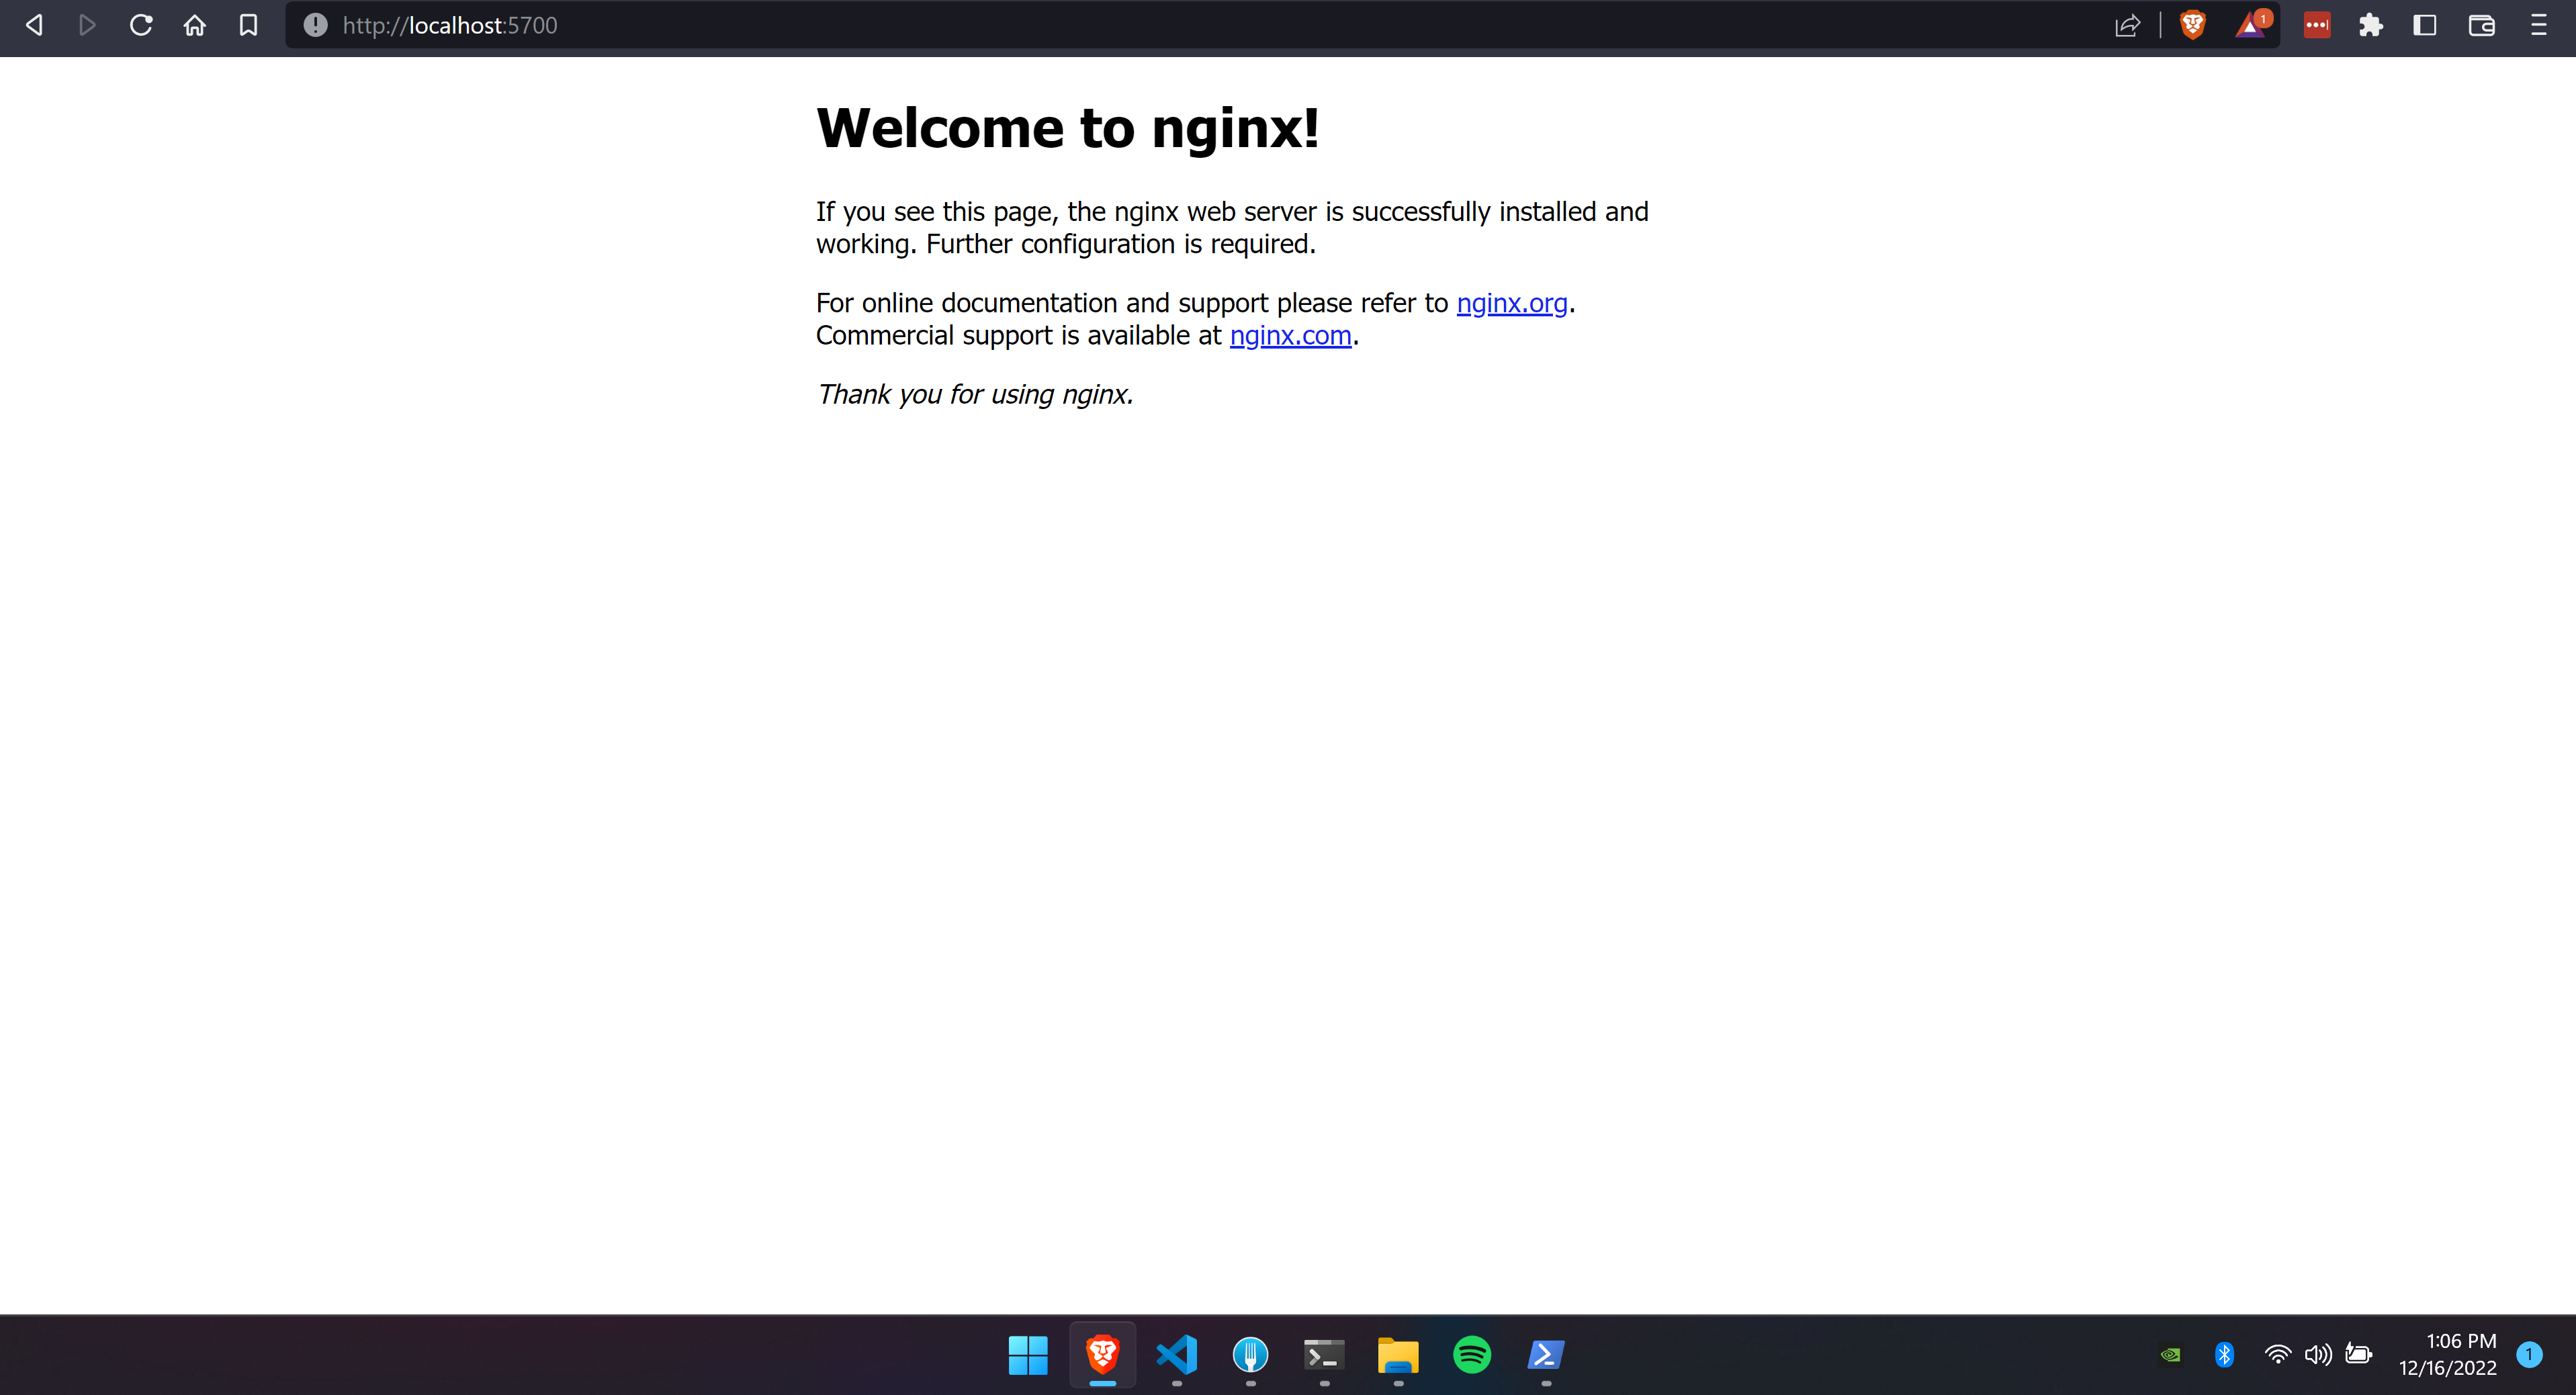
Perfect I can now connect to Nginx as if it were natively running on Windows. Quick tip, before deciding which port to use on the command netsh interface portproxy run the following command.
| |
It will output any mapping, you may already have created or had created by another service. The port listed is unavailable, and therefore, cannot be remapped unless you delete it using the following command.
| |
Using the host port solves my original issue, I can now connect to services running on Kubernetes in WSL from Windows using localhost.
Conclusion
For now, I feel like HostPort is the best solution I could come up with, even if the IP changes whenever I restart WSL. If the day ever comes when I can set a static IP in WSL then MetalLB would probably be my preferred choice since HostPort limits the number of PODs to one.
Thanks for reading.